Nothing will get a collection of designers and electricians more riled than a conversation about lighting over a bathtub or soaking tub. With good reason. The National Electric Code (NEC) has struggled to find the correct wording that makes their intent clear and that has resulted in confused implementation of what should be an important safety precaution. The latest version of the NEC has not altered the intent, first established in 2005, but new phrasing has been tried. I’ve now read it multiple times and frankly, it’s not much better. If you’re as confused as everyone else, let me try to make it clearer.
“No Hanging Lights” Zone
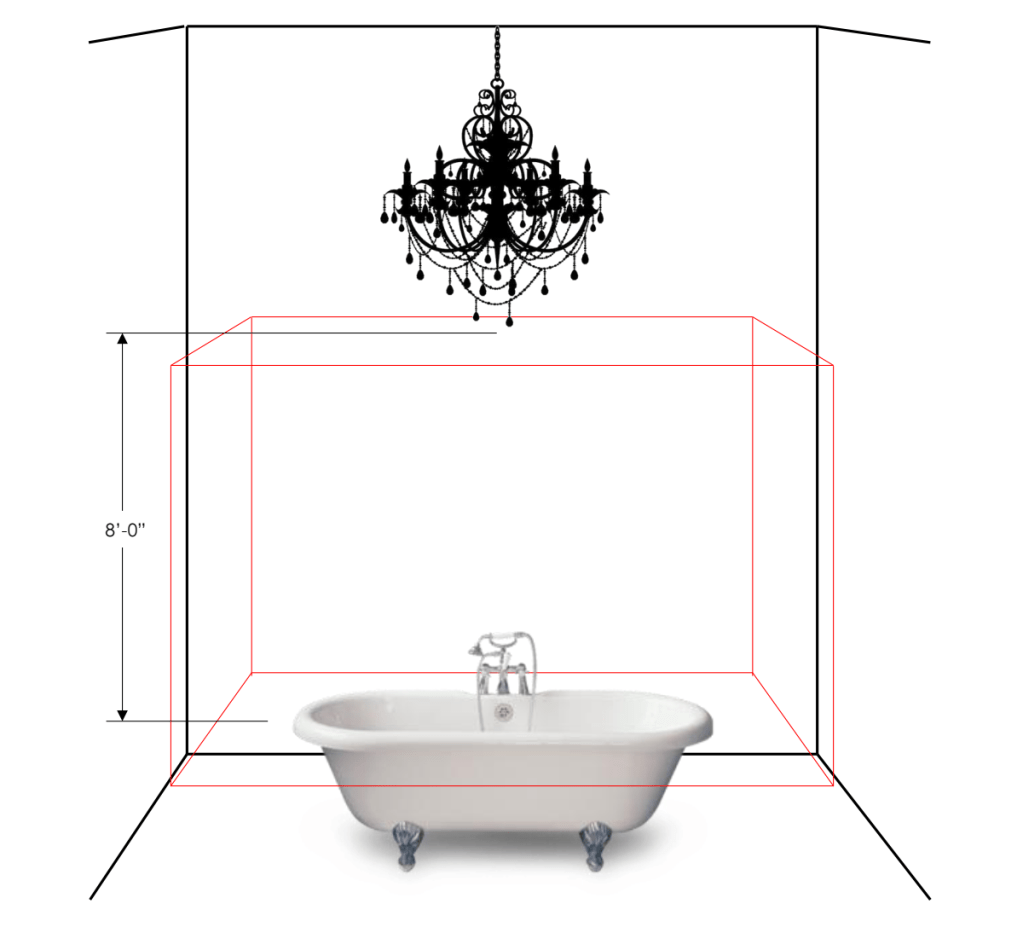
Imagine an “invisible box” around a tub that extends 3’-0” on all four sides and 8’-0” from the top-most lip. Simply put, no hanging fixture is allowed in this area. Hanging fixtures are defined as chandeliers, pendants, track lights and ceiling fans suspended on a chain, cable or cord. While not specifically called out, we should consider a stem as well. Surface mounted and recessed lighting is NOT included in the list.

Big Rooms and Extra Tall Ceilings
We all know bathrooms are continuing to grow and ceilings are getting taller. If this is your situation, a hanging light can be installed outside the “invisible box” but it must be UL/CSA listed for Damp Location. If, for some reason, the water from a showerhead has the ability to reach up into the area above the “invisible box” the luminaire must be listed for Wet Location.
Surface Flush and Recessed Lighting
Surface mounted and recessed lighting is acceptable over a tub or shower. It is advisable to use Damp Location listed product here, simply because of the moisture that is so often found in the space. Products with exposed light bulbs are not acceptable.

If I Can’t Use A Chandelier, How Can I Make the Room Pop?
There are a number of aesthetically interesting options that should be considered as an alternative to a chandelier over the tub, if a flush unit does not meet your needs.
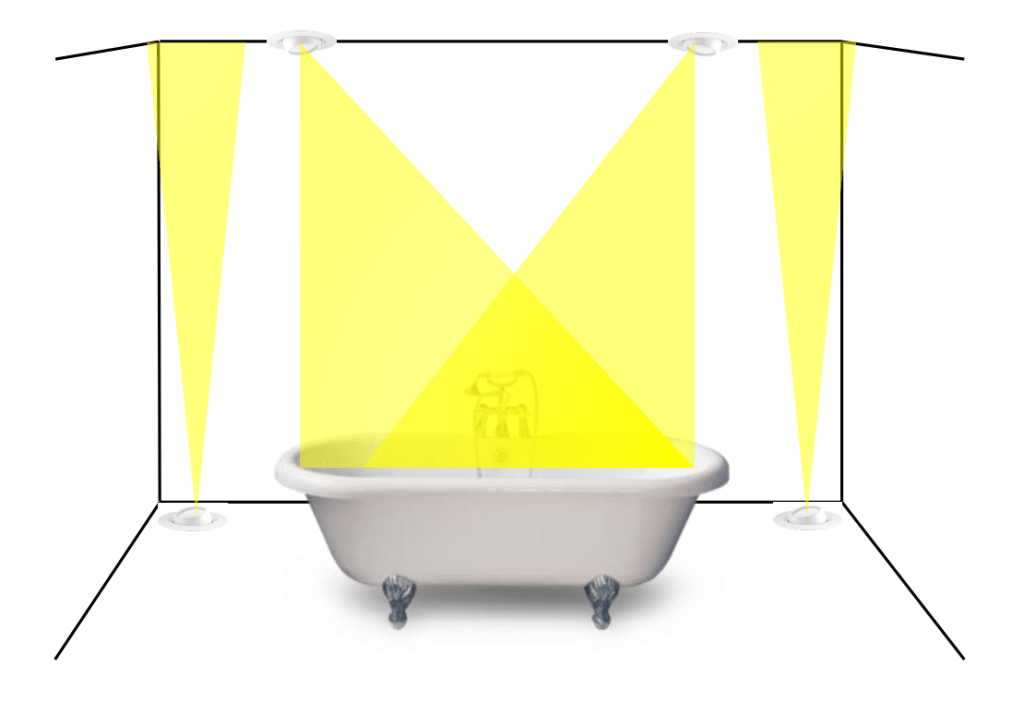
A single recessed can will certainly add light to the space, but will not add to the visual interest. That does not mean this option should be abandoned. Perhaps two or three adjustable recessed units could be just what is needed. They could be aimed into corners, crossed-lit like Hollywood klieg lights or set to illuminate artwork surrounding the tub in more extravagant settings. Just remember, if this is a soaking tub, don’t aim a light at the headrest on the edge of the tube and always include a dimmer so a relaxed atmosphere can be created. Floor mounted recessed should also be considered, especially if the tub is tucked into an alcove or corner.
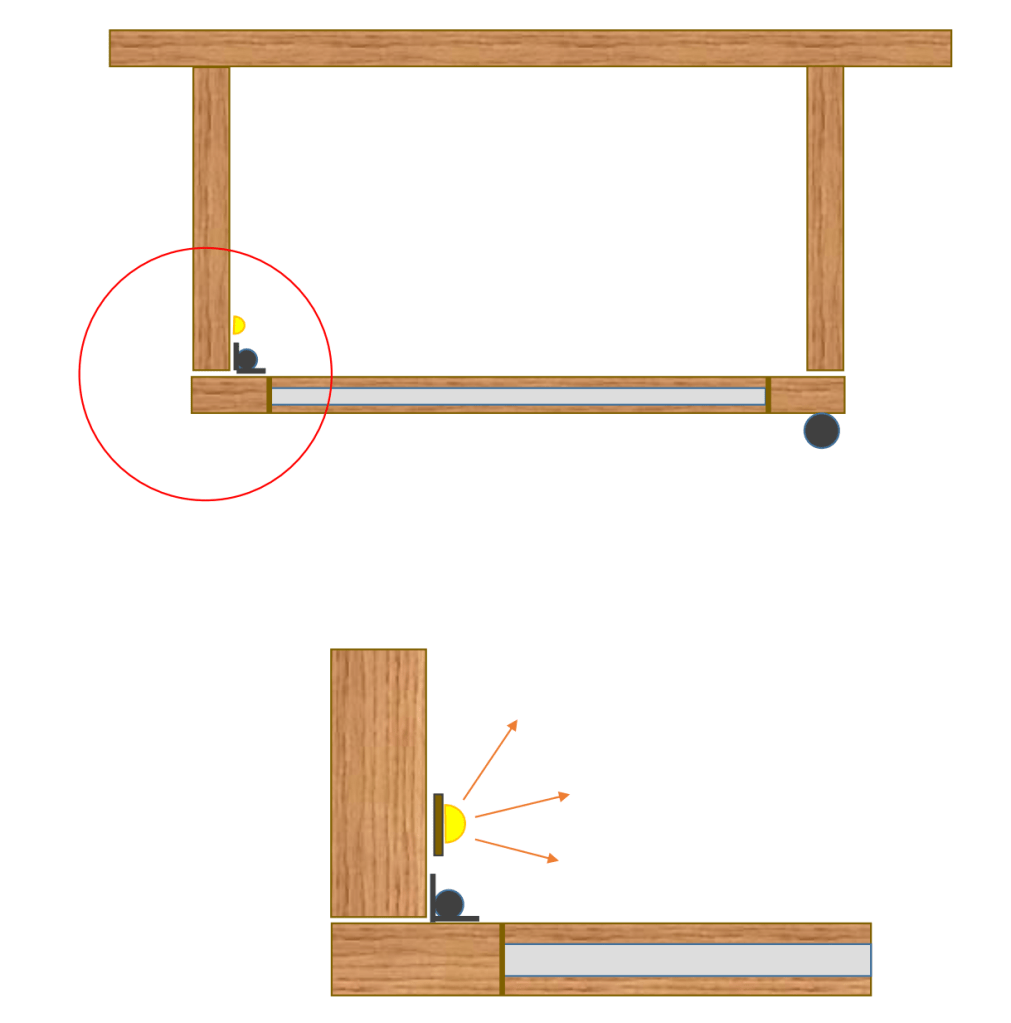
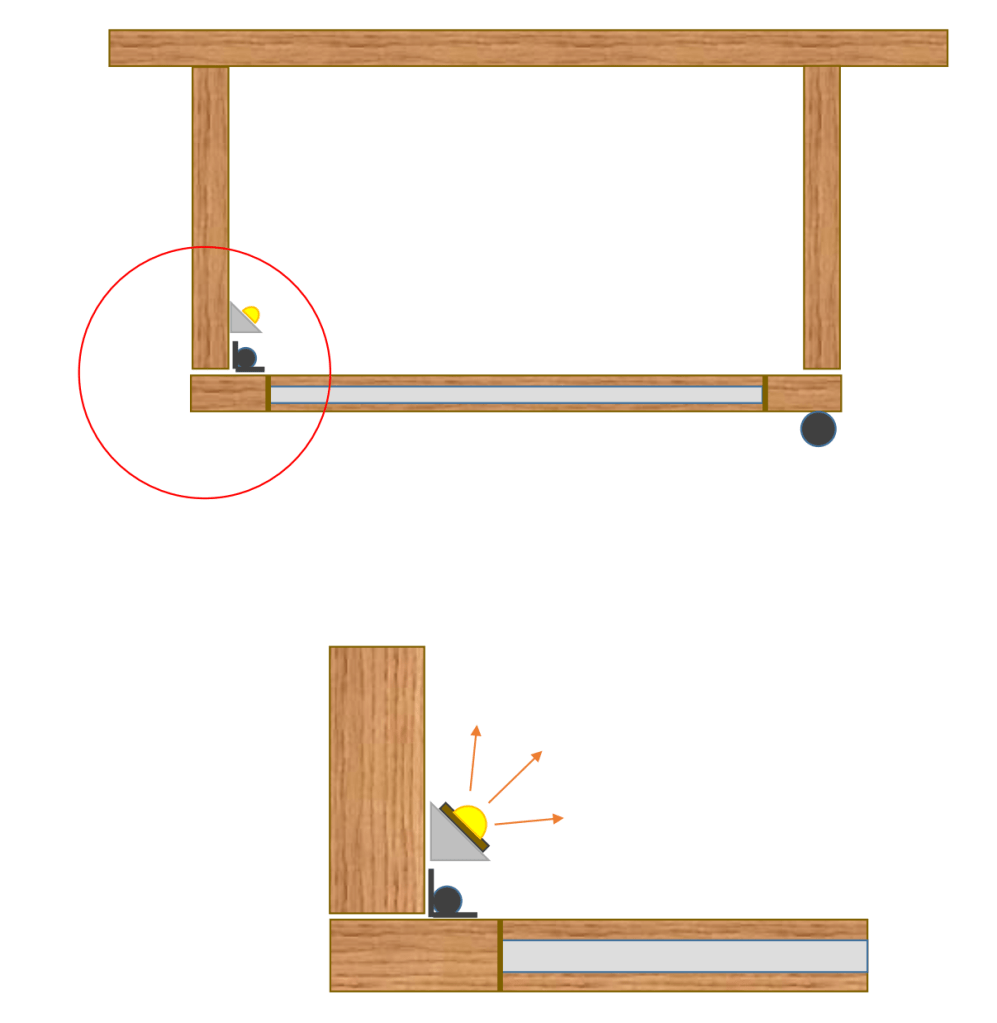
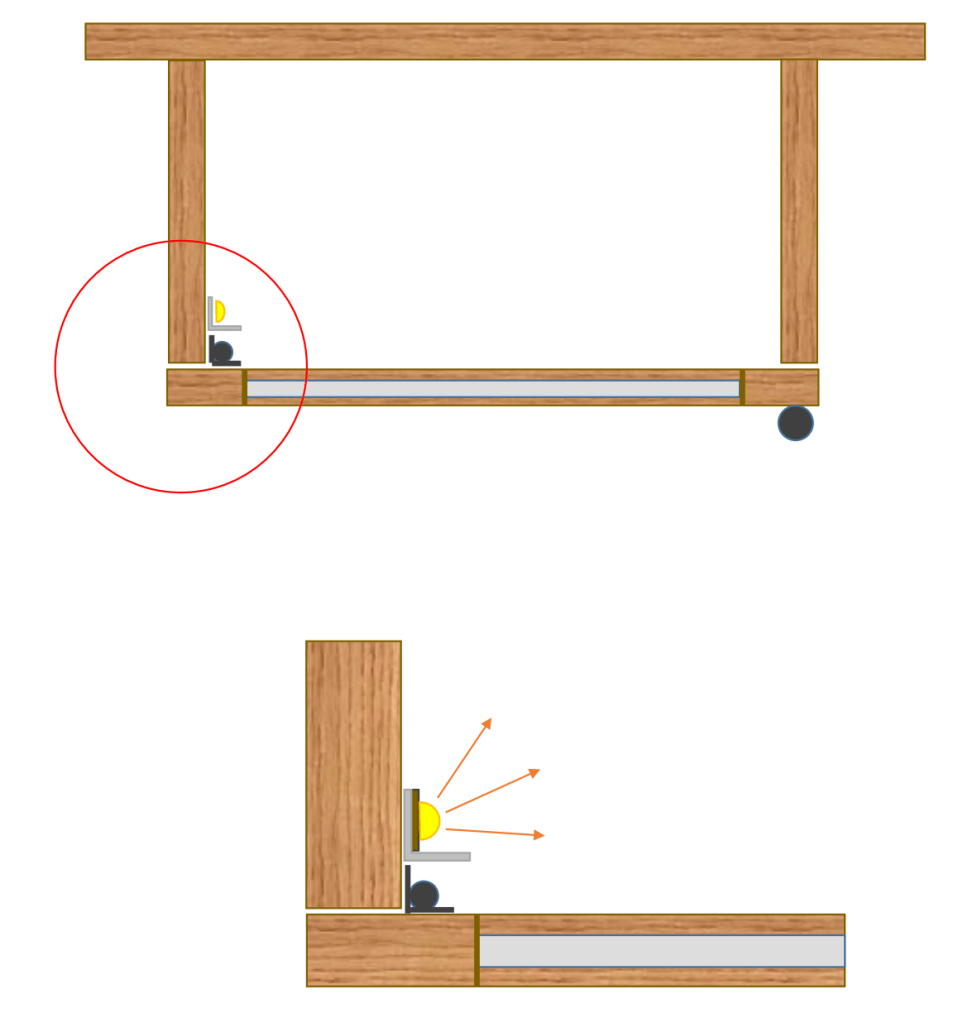
LED Tape is a remarkably flexible product and its inclusion can turn a simply bathtub into a photo-worthy dream. LED Tape can be added to a tray ceiling, behind cove molding that wraps the perimeter of the area and tucked into the floor molding that surrounds the tub.
By using extruded aluminum channels, patterns can be created on the wall and ceiling. The channels are the exact same thickness as drywall, so they simply assemble to the studs prior to drywall installation. LED Tape is then installed in the channel and wired. Once the wallboard is nailed in place, taped and painted, an extruded diffuser is snapped into the channel. A pattern of light now dances across the walls and/or ceiling, unique to the room.
LED Tape under a footed tub or surrounding built-in tubs can also be a show-stopping addition. Selecting a color or color-changing RGB LED Tape will increase the visual interest and add to the unique aspect of the space.

Life Beyond Chandeliers
It is easy to see that a chandelier over a tub is disappearing from likelihood in most homes, but that does not mean creativity must die. In fact, options are multiplying and readily available. The only thing that needs to be turned-up is creativity!
Finally, with every discussion concerning codes, local authorities have the ability to mandate more stringent variations of the NEC. It is always wise to consult the specific state and local electrical ordinances before beginning a job.