I was recently asked to provide thoughts on lighting a new space planned with a heavy vintage industrial motif. I expressed surprise, but was told the clients were very specific and could not be swayed away from their desire. It reminded me of a similar request for a Tuscan kitchen last year, “Well, at least you know you’ll be called back in a few years for a refresh!” I joked.
Determining when a style or finish trend begins to ebb can be tricky. Some wags jest that when it hits the “big box” stores, the end is nigh. That may be the case for high-end goods, but there is still a lot of life for manufacturers and consumers that exist on a tighter budget. For that reason, I believe aging styles should be monitored and employed at reduced levels, eventually disappearing into the history books. With that in mind, here is a list of trends I still see, but know are quickly reaching their expiration date.
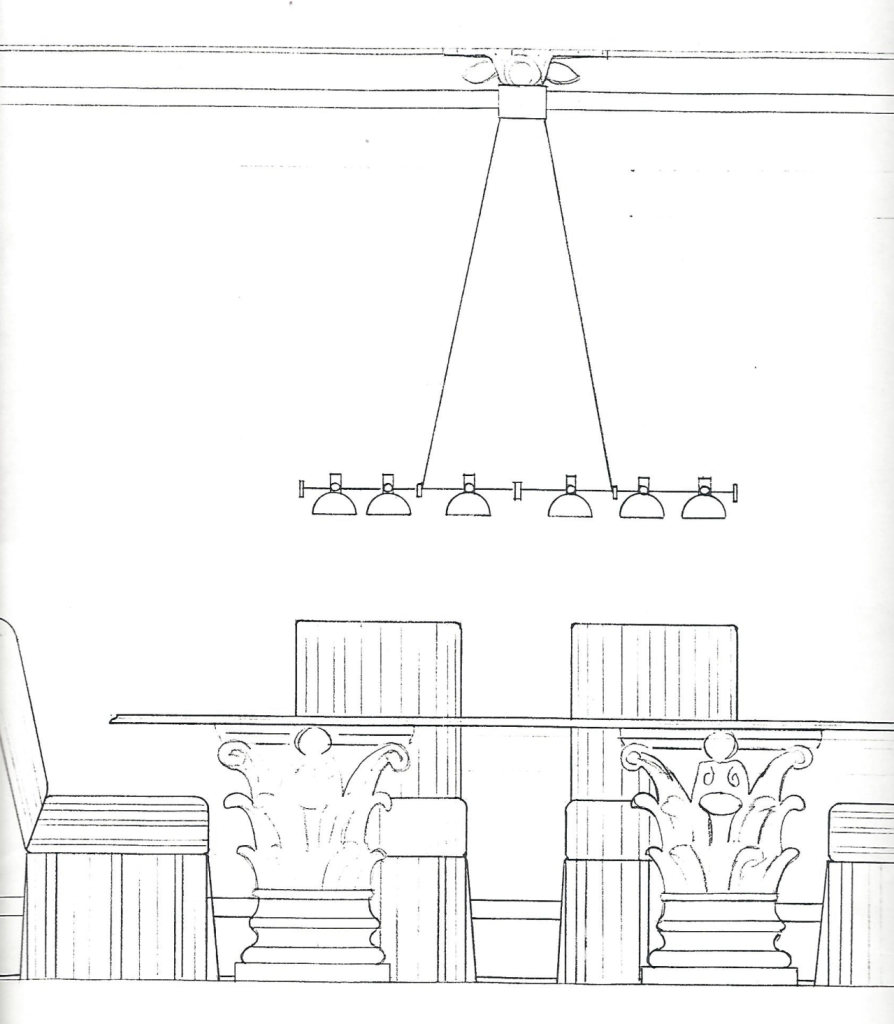
Vintage Industrial
If unclear from the introduction, this trend remains viable only at the lowest cost levels. While I still see restaurant designers using it effectively, most everywhere else it is looking, tired, old and cheap. Connected at the hip with the Industrial look is Oil-Rubbed Bronze and Vintage Edison light bulbs. They had a good run. It is now time for vintage to be vintage again.
Farmhouse
At KBIS, probably a decade ago, the running joke was, “Tuscany called. They want their kitchens back!” Just that quickly, a trend, that was almost ubiquitous to the era, was gone. I think the Farmhouse look will suffer the same fate. We’ve all tired of bead board and sliding barn doors. Buckle your seatbelt. When this one dies, it’s going to be a quick one, like its Mediterranean cousin.
Black Finish
Black is a dense color and even in small quantities, commands a lot of attention. When black gained popularity in the past, its life was shorter that most trends, about six years. We are approaching that timeframe now. If I were a manufacturer, I’d be carefully monitoring sales of black products for any signs of slippage. If an iota of reduction is spotted, I’d quickly stop any new development. Because of its kinship to Farmhouse, they could exit together in a similar manner.
Brushed Nickel
Brushed Nickel emerged about twenty years ago. It is now the oldest continuously running finish currently maintaining a smattering of popularity. From higher to budget price points on a wide variety of products and hardware, Brushed Nickel is still widely used. Nonetheless, at the last Salone de Mobile in Milan, not a single luminaire was exhibited using Brushed Nickel. Admittedly, Europeans are not the same as Americans, but trends almost universally start there. While it may not be going tomorrow, expect a reversal of popularity soon. Unlike Farmhouse, this could be a long, drawn-out exodus, similar to what Polished Brass experienced at the end of the 1990s.
Other Likely Partings
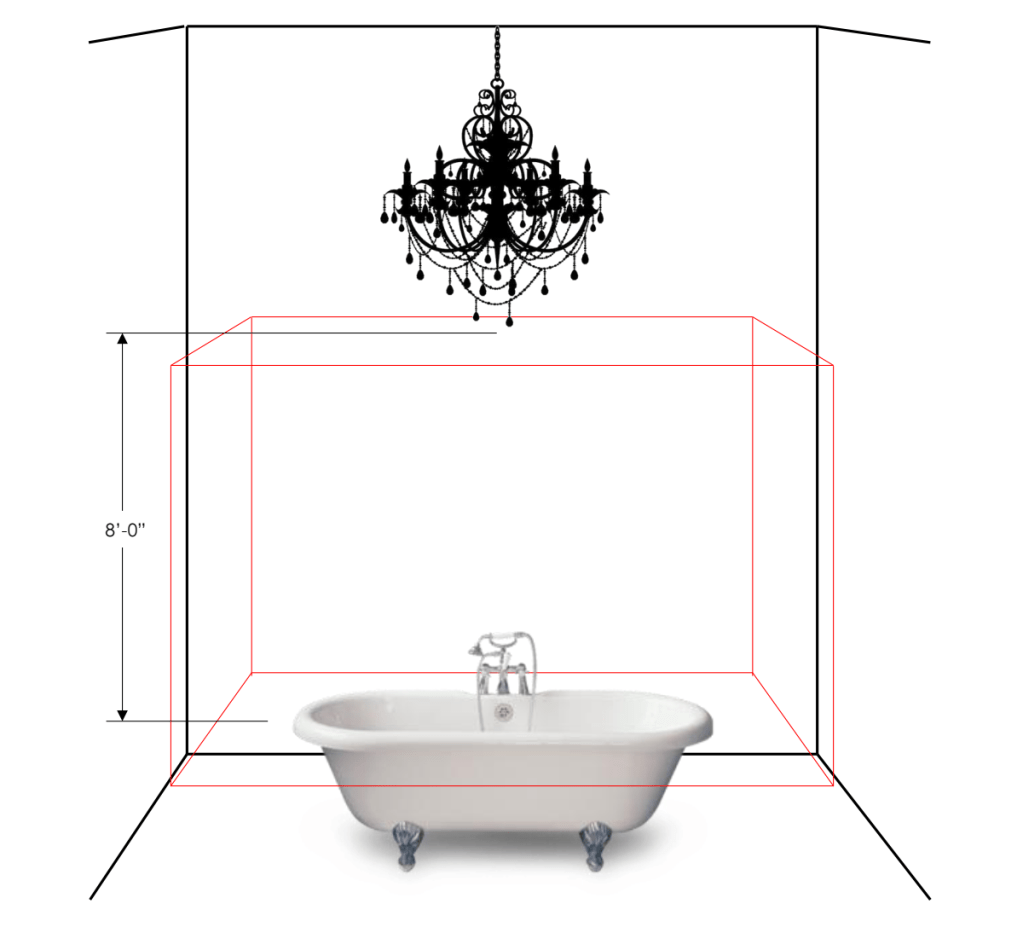
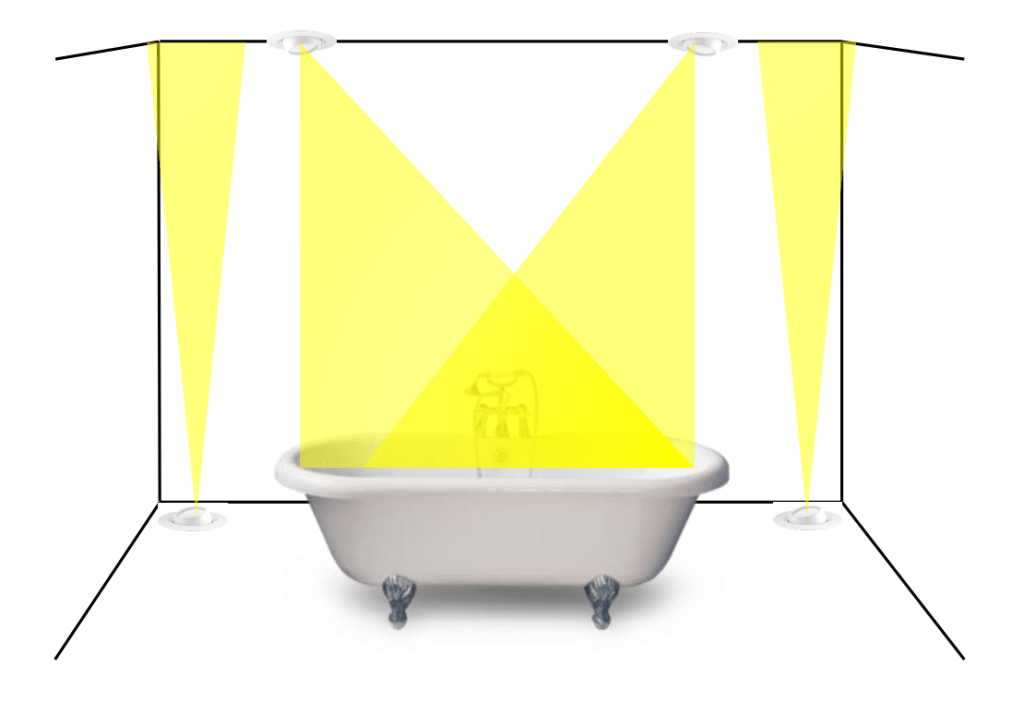
There are a few other trends that are a touch farther behind these, but still worth mentioning. Mid-Century Modern, in its most pure expression is evaporating, but lighter, more playful versions are still enjoy success. Pared-down Traditional, so clean and simple you can use it as a plate, is still around, but the pendulum has completed its swing and headed back to traditional with more ornamentation. Still, these simple expressions of design could be slightly altered and easily slip into another style bucket. Bathroom lighting has not changed in over fifty years and that was a minor adjustment. I think a revolution is due. Stay tuned.
Styles continually change. That fact keeps manufactures of products from pants to lighting in business. Knowing when to make more or specify fewer is the reason design professionals have work, otherwise folks would be walking into their Harvest Gold kitchens wearing poodle skirts and Doc Martens, ready to prepare avocado toast.