At the recently completed American Lighting Association (ALA) conference, the concept of cost overruns was discussed. The lighting pros in attendance were commiserating the unfortunate fact that light, too often is the victim of an expensive refrigerator. When costs need to be cut, lighting becomes the sacrificial lamb.
I suggested we should all counter that response with a different argument.
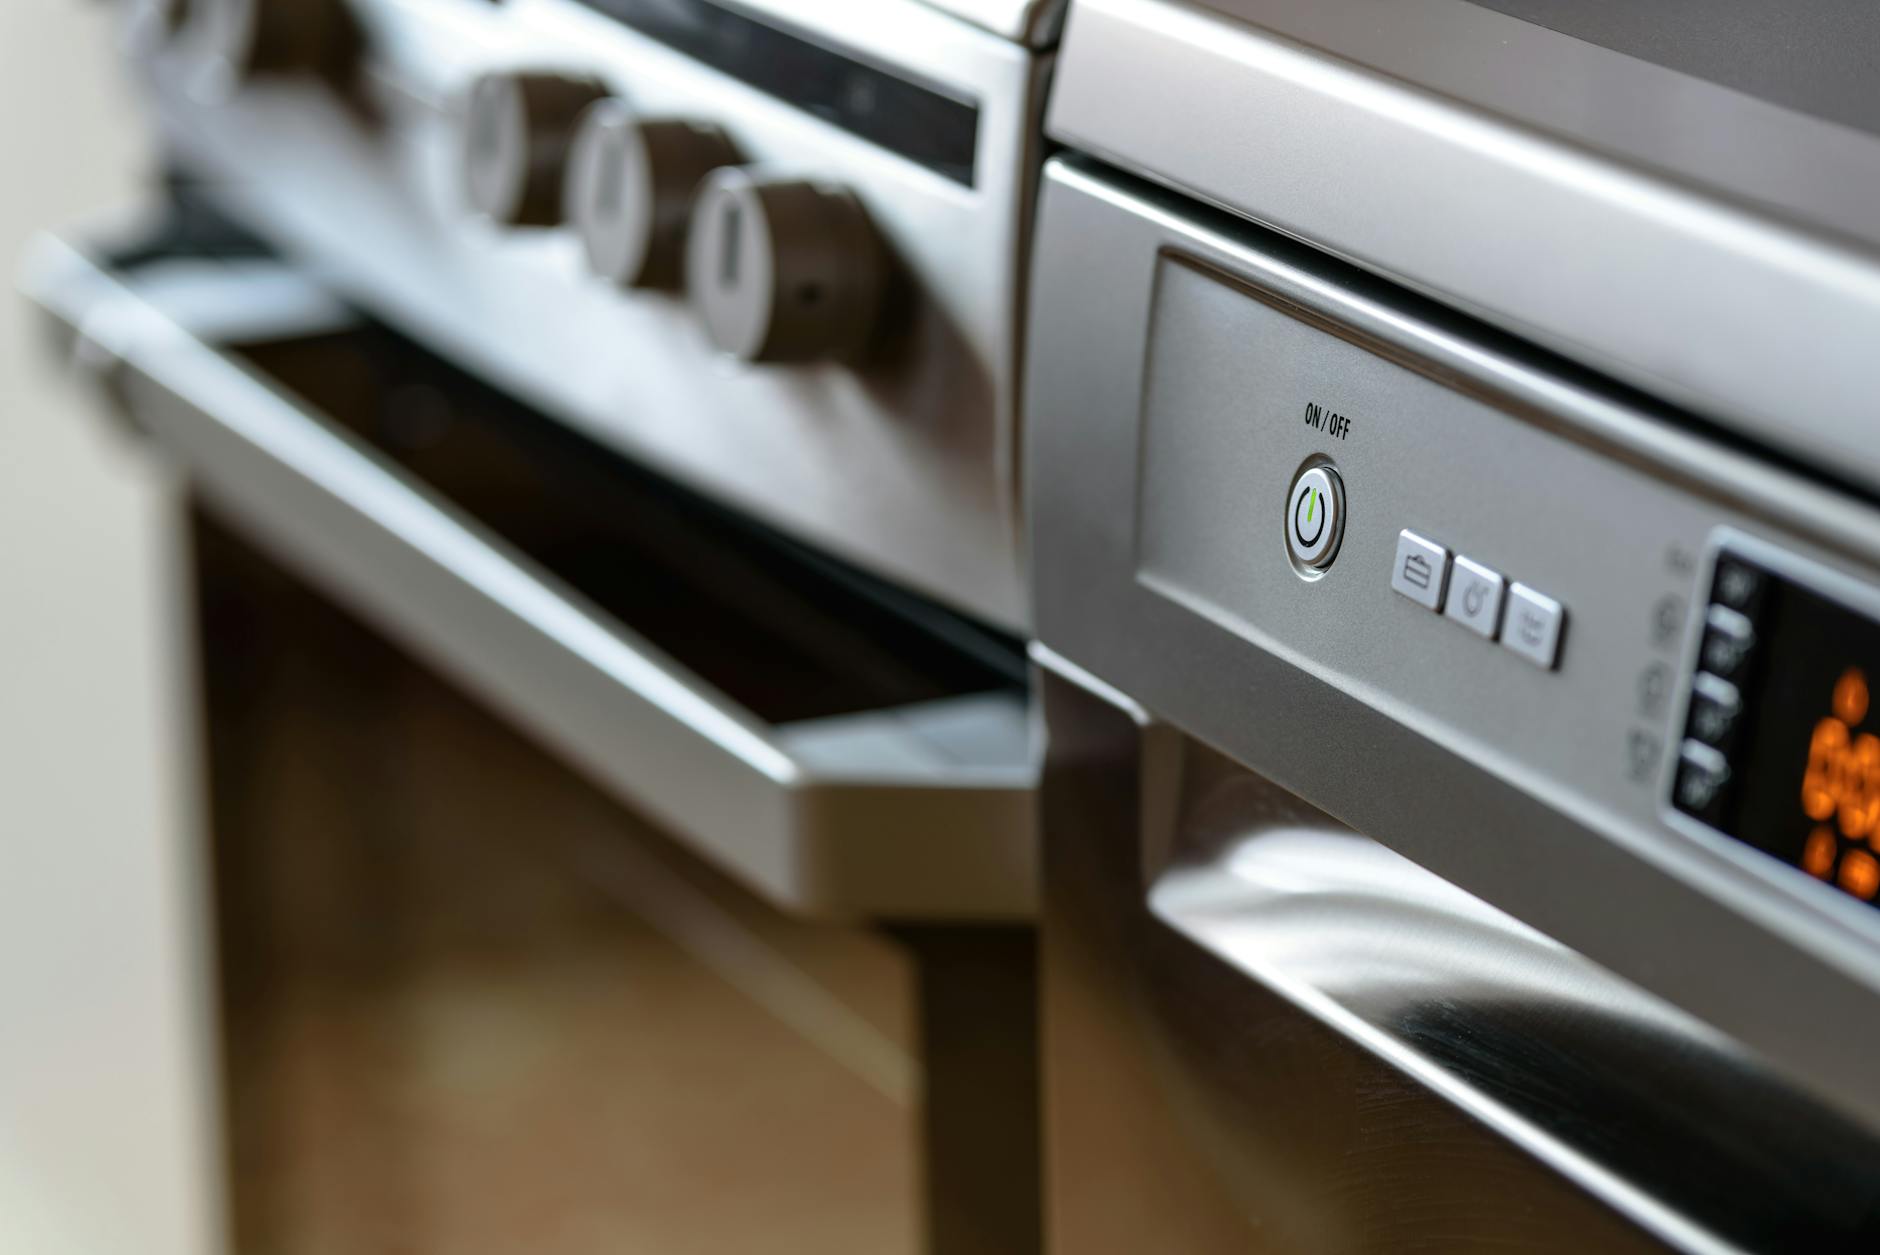
Client: “We are spending too much money on the new kitchen. We’ll need to eliminate some of the lighting.”
Lighting Professional: “I have a better solution. Let’s remove the stove.”
At this point, the customer will respond and push back. Of course, a kitchen without a stove isn’t much of a kitchen. A kitchen without proper lighting is equally ineffective. If you can’t see the carrots, dragging out a knife could be a lethal, or at least messy problem.
There is a better way that doesn’t mean the elimination of half the light or one La Cornue. Multiple lighting options should be considered so a good lighting design will be the result.
The first design you offer should be the optimal version. You should include the luminaires that will do the best job, perform the best and deliver the finest design possible.
A second option should include alternatives and the reasons they are second should be included in the notes.
- “Adequate, but not perfect beam angle”
- “Shorter expected life span – 25,000 hours vs 60,000”
- “Increased likelihood of glare”
- “X”
You might want to offer a third, but I wouldn’t unless you like extra work, or that has been agreed upon when discussing the job.
Sometimes, the customer needs to understand why they are selecting what they are selecting. They might choose a Sub-Zero because it has a reputation and a certain amount of élan, but they do not have that connection to lighting. They can acquire a visceral connection to a chandelier, but functional lighting is different. A stove roasts a chicken, a dishwasher cleans the pots, a freezer makes ice cubes, but they might not realize properly designed recessed cans (pots) deliver glare-free light that supports all of the tasks a user achieves in a kitchen.
The accent lighting layer is an easy victim to cost overruns. In order to swing that copper farmhouse sink, the toekick and above cabinet lighting could be sacrificed. The lighting designer should ask, “At what cost?”
“Why install a Poggenpohl kitchen, if you aren’t going to light it properly?” If you can’t see the beautiful finishes, the seamless craftsmanship and the flawless functionality, what is the point?
In a perfect world, kitchens should be offered at multiple price points, each with commensurate lighting. Here are a few lighting options matched with the overarching kitchen concepts.
Entry Level Kitchens
If the client is furnishing their first home, or if they are young and just starting life’s journey they will likely be using stock cabinets, basic appliances, introductory priced granite countertops and simple flooring. The suggested lighting could be:
- Decorative surface mounted luminaires – flush or semi-flush, depending on the ceiling height. (Surface mounted “discs” are not an option at ANY price point!!)
- Good output, LED Tape in a plastic channel as under-cabinet lighting. Depending on price, an integrated under-cabinet option might work. LED Tape is typically less expensive (based on lumens per foot) but still confounds some less skilled electricians.
Mid-Level Kitchens
If the customer is moving into a second or “forever” home, they will likely be using semi-custom cabinets, more elevated appliances with better features, quartz countertops and ceramic or wood flooring. The suggested lighting could be:
- Pendants at the island that have a size equal to the girth of the surface and a height that conforms with the ceiling height. In other words, avoid using tiny 5” spheres in a room with 10’-0” ceilings over a 48” wide island.
- Well positioned recessed lighting. They may not have optimal beam angles and they might not be as recessed as those found in a perfect design. (Surface mounted “discs” are not an option at ANY price point!! Yes, I wrote this twice for a reason.)
- 300 to 500 lumens per foot LED Tape in a channel as under-cabinet lighting
- Above cabinet accent lighting provided by LED Tape delivering between 150-250 lumens per foot.
Luxury Kitchens
This client might have a kitchen designer. They might be using an interior design specialist or architect. They are familiar with what they want and have the funds to achieve that goal. This is not their first home purchase and might not be their last. They will be specifying the aforementioned La Cornue and Sub-Zero appliances in a SieMatic kitchen. High end backsplash and flooring materials will employed. The suggested lighting could be:
- Pendants at the island should be perfectly sized to the girth of the counter and height of the ceiling. The quantity used should also fit the scale.
- A separate dining area might need supplemental lighting and a fine decorative chandelier/pendant/semi-flush should be selected.
- Well positioned recessed lighting with optimal beam angles and lumen output. They should be recessed into the ceiling a minimum of 2 ½”. (Surface mounted “discs” are not an option at ANY price point!! Once more for effect.) There will never be a reason to replace these, so buy the product that is warrantied for 50,000 hours or higher.
- 300 to 500 lumens per foot LED Tape in a channel as under-cabinet lighting
- Above cabinet and toekick accent lighting provided by LED Tape delivering between 150-250 lumens per foot.
- Under countertop lip accent lighting should also be discussed and considered. It can be a wise alternate to inside drawer lighting.
- Under island accent lighting (again, LED Tape) at about 200-300 lumens per foot will work nicely
- There is a good chance this kitchen will feature some display cabinets. They will need to be lit to fully appreciate the items. The necessary illumination can vary widely from 150 to 500 lumens per foot depending on the goal.
There are many differences found in all the kitchen designs in America and they diverge in as many ways as the customer does. Despite that range, no one need go without a stove to have good lighting. Good lighting simply needs to be planned in concert with the rest of the kitchen’s functional elements.